Please bear with me. I've never written in a blog before but this is a little much for a facebook post. Here goes nothing!
How to make a simple mai tie wrap.
What you'll need:
sewing machine
fabric scissors
1/2 yard of cute fabric
about 2 1/3 yards of matching fabric (I wear a size small-medium. If you are a bigger person, I would add a little more length.)
matching thread for both fabrics
pins
iron
Start by cutting your fabric. You will need 3 strips of fabric for your straps. They need to be about 7 feet long by a minimum of 9 inches wide. The wider the straps, the more comfortable it will be, though, I wouldn't go wider then 14 inches. Once you have them cut, pin them inside out lengthwise.
Next, cut out the body. I cut a double layer, 16x20 inches. In the pictures below, I already folded and ironed in the edges. I round out the top and flare out the sides towards the top. Once you have it cut, fold in the edges about a 1/4 inch and iron.
Next, fold one strap in half. Fold the ironed body piece in half lengthwise. Put the body on the strap and mark the strap on each side. You will need to skip this section when sewing.
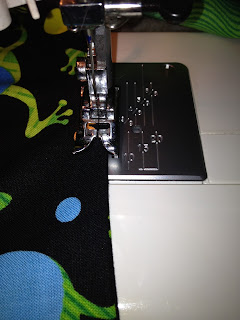
Sew your straps. For the 2 top straps (not the one you marked) close one end but leave the other open so you can turn them right side out. For the bottom strap, skip the middle section that you marked but close both ends. You will need to insert the body into the strap.
Turn your straps right side out and iron. For the bottom strap, iron the edges in on the section you skipped.
Yes, I'm using my hair straightener. Please ignore the seam. I was
running low on fabric so I had to sew 2 pieces together.
Insert body into open space on bottom strap, pin then sew a box stitch. I reinforce the top stitch with a second pass.
Bunch the top straps and iron them.
Fold back one side of the body. Pin them on and angle so it makes it more comfortable to wear.
Switch threads to match the body of the carrier. Sew a box stitch, again reinforcing the top stitch
with a second pass.
Fold the other side of the body back up and pin together. Sew the edges together.
Congratulations! You have made a mai tie wrap! It should look like this.
I am in no means a professional seamstress, just a mom who's too cheap to spend the money on a nice carrier. Please use at your own risk. (I feel like I have to say that. I bounce around with my 25 lb baby in it all day long.)
To use, tie short strap around your waste tightly. Put your baby on your chest and pull up the body. Put top straps over your shoulders and cross them in the back. Pull them around the front, under the arms of baby, then around your back and tie.
Enjoy!


